Setting up a buffet table can feel overwhelming, especially when you want everything to look inviting and work smoothly. The right placement, organization, and decor can make all the difference, turning a simple spread into a stunning display.
By the end of this guide, you’ll know how to arrange your buffet efficiently and decorate it beautifully, creating a welcoming setup that impresses your guests.
Keep reading to see how easy it is to master the art of buffet presentation.
Stop the Buffet Backup With a Better Layout
Placing your buffet table against a wall creates a natural flow that minimizes cross-traffic and confusion. This setup establishes a clear start and end point, guiding guests smoothly along the line. A continuous, long table is more effective than disconnected segments for maintaining this directional movement. Keep the buffet away from seating areas, restrooms, and entrances to prevent bottlenecks and crowding. To improve serving efficiency, group cold items at the beginning and hot foods toward the end to discourage guests doubling back. Position heavier, high-demand dishes in the center to evenly distribute the serving pressure. For larger crowds, arranging the buffet in a U-shape allows guests to circulate freely without stopping the line. Additionally, marking the floor with a mock layout beforehand can help identify crossing paths, making adjustments easier before the event starts. For a multi-level serving display that saves table space, consider using a loft bed design principle by elevating platters on risers or tiered stands to keep the layout organized and accessible. Similar to how you might gather essential tools for a reupholstery project, preparing serving utensils and plates in advance prevents last-minute scrambling. A sturdy queen bed frame can serve as an unexpected but stable base for a temporary buffet surface when you need extra length and support.
Place Plates and Utensils at the Buffet Start
Start the buffet setup by placing the plates at the beginning of the line. Stack them neatly, preferably on a slight riser, so guests can pick up plates easily without causing congestion. This clear starting point guides guests smoothly through the serving flow, whether they move clockwise or from left to right. Avoid pairing utensils with plates at this initial stage; instead, reserve utensils for the end of the line. Placing utensils there allows guests to gather flatware and napkins after passing the main dishes, freeing their hands for serving. Handle utensils with their grips facing upward, making it simple to grab without touching the eating ends. For large gatherings, ensure the table’s height and layout allow for easy access, similar to how top twin bunk beds prioritize safety and space efficiency in a shared room. Additionally, placing a small tray for used napkins at the end encourages guests to keep the table clean and organized.
Group Your Buffet Dishes by Type for Easier Browsing
Grouping your buffet dishes by type speeds up browsing and prevents confusion. Start with clear dish categories such as appetizers, salads, entrees, sides, and desserts. Arranging food this way creates a logical flow, guiding guests smoothly through the meal course by course. To ensure table dimensions accommodate your setup, consider the standard queen bed width for comparison when planning your serving surface.
Implementing buffet zoning means dedicating specific areas to each food type. Guests can scan the table from a distance and quickly locate what they want without wandering or searching. Within each zone, group complementary items together—bread next to butter, pasta near sauces, salads beside dressings—to minimize searching and serving mistakes. When setting up, consider using a small nursery bookcase to display lighter items like breads and desserts if counter space is limited. For added functionality, choose a serving surface with built-in storage to keep extra utensils and napkins within easy reach.
Labels are essential. Clearly name each dish and include key ingredients, making categorization even easier to navigate. Vertical arrangement necessity is due to space constraints on small surfaces. Arrange your zones in a natural order: start with appetizers, move to salads, then entrees and sides, and finish with desserts. This systematic setup ensures a seamless, stress-free buffet experience for your guests.
Separate Hot and Cold Items for Better Food Safety
Separating hot and cold items is essential for food safety. Hot foods should be kept at 140°F (60°C) or higher, while cold foods need to stay at 40°F (4°C) or lower. Use chafing dishes or slow cookers to maintain hot temperatures, and nest cold foods in bowls of ice to prevent bacterial growth. This clear division helps keep foods out of the temperature danger zone, where bacteria multiply rapidly. For best results, consider using a changing table to organize your buffet setup. To further ensure safety, position your buffet at a standard mantel height to keep serving surfaces accessible and stable. For maximum comfort and value, consider adding an adjustable bed frame to your buffet area for versatile seating arrangements.
Always use separate utensils for each dish to prevent cross contamination. Raw meats should never touch ready-to-eat foods; use dedicated platters and cutting boards for raw ingredients. In display units, store raw items below cooked ones to avoid drips or accidental contact. When handling leftovers, transfer food to shallow containers for quick cooling and discard anything left out for more than two hours to reduce risk. Proper temperature control and separation keep your buffet safe and hygienic.
Match Your Color Scheme to the Event Theme in 3 Steps
Matching your buffet’s color scheme to the event theme involves three key steps. First, choose a dominant color family that reflects the event’s purpose, leveraging color psychology to set the right mood. Warm tones like reds and oranges energize, making them ideal for lively celebrations, while cool tones such as blues and greens create a calming atmosphere suitable for sophisticated or relaxing events. Apply the 60-30-10 rule by using 60% of your palette on large surfaces like tablecloths, ensuring a cohesive foundation for your display.
Second, tailor your palette to fit the venue. Observe the existing décor and architecture—neutral spaces give you flexibility to use a broader range of colors, while venues with strong built-in colors need careful pairing to avoid clashing. For outdoor settings, nature-inspired hues like earthy browns, leafy greens, or sky blues typically work best and blend seamlessly with the environment. Choosing a TV stand or console that matches your event’s color scheme can also help unify the room’s furniture with the buffet table.
Finally, incorporate secondary and accent colors strategically. Limit these to 30% and 10% of your overall design. Use accents on napkins, candles, or small decorative items to add contrast and visual interest without cluttering the look. For a versatile option that fits many themes, choose a daybed with trundle in a neutral wood tone to serve as a nearby seating element that complements your color palette. Proper placement of these accents elevates the overall aesthetic and ensures your buffet table enhances the event’s theme smoothly.
Use Table Runners and Placemats for Visual Structure
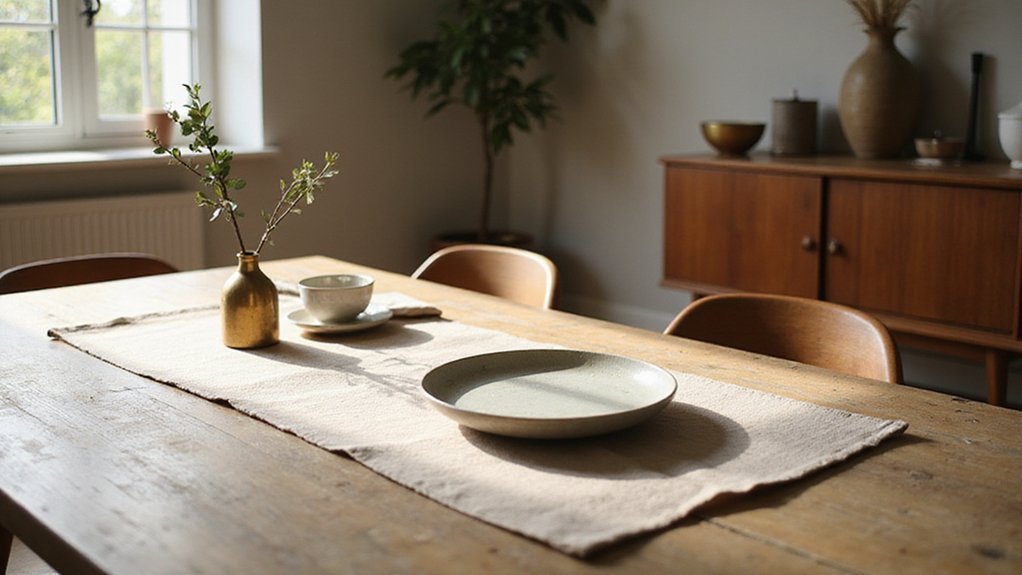
Place a table runner lengthwise down the center of the table, with an overhang of 6 to 12 inches. This creates a central visual anchor, clarifies the layout, and unifies the tabletop. Add placemats at each diner’s spot, keeping them evenly spaced about an inch from the table edge and a few inches from the runner. This layering approach adds visual interest without crowding the space. For contrast, choose textured placemats paired with a neutral runner, helping each element stand out. Symmetrical placement of both runners and placemats enhances the table’s structure and ensures a clean, organized look. Applying a similar principle of quality, performance, and value ensures the chosen linens offer lasting beauty and practical use.
Stack Your Dishes Higher With Cake Stands
Using cake stands is essential for stacking your dishes higher and creating a visually appealing dessert display. They add vertical height, allowing you to showcase more treats without cluttering the tabletop. Tiered servers and pedestals help your dessert bar look fuller and more attractive, guiding guests’ eyes to featured items through multi-level arrangements.
Choose a stand size that matches each dessert’s scale. The diameter should correspond to the dessert’s size: larger desserts need bigger stands to prevent overwhelming the display, while smaller sweets are better suited to delicate, smaller stands for stability. For a balanced look, use glass stands for formal events to add elegance, and wooden stands for a more eclectic feel. Elevated stands also save surface space, making it possible to fit more dishes and create a well-balanced, abundant presentation without feeling cramped.
Mix Wood, Glass, and Metal for a Dynamic Look
Using three to four materials creates a balanced look. Start with a dominant material, such as wood for the buffet or large serving pieces, to anchor the display and provide visual stability. Choose a primary finish that complements your room’s existing decor to ensure the setup feels cohesive. Limiting your material palette keeps the visual clutter at bay, allowing each element to stand out without overwhelming the table.
Incorporate glass pieces to introduce contrast and a sense of lightness. Clear glass reduces visual weight, making the display appear more open and allowing the colors of your food and decorations to shine through. Use glass for drinks, desserts, or floral vessels because it lets light pass through, creating a balanced interplay with denser wood and metal elements. Mixing transparent furniture and glass accents aligns with the trend of light, airy spaces.
Add metal accents for structure and definition. Matte, brushed, or blackened metals in tray rims, flatware, or candlesticks bring texture and contrast to the mix. Warm brass finishes pair nicely with dark woods, while shiny chrome complements lighter tones. Combining wood, glass, and metal creates a dynamic, deliberate look that is engaging yet uncluttered.
Anchor Your Table With One Statement Centerpiece
Anchoring your buffet with one statement centerpiece creates a clear, calm visual starting point that guides the entire arrangement. Choose a focal piece that reflects your style—such as a large mirror, an eye-catching floral arrangement, or a sculpture. Ensure it is scaled appropriately for your table and visible from across the room to draw attention without overpowering the setup. Incorporate staggered heights by placing tall vases or candlesticks behind shorter items to add dimension and contrast. This contrast naturally guides the eye and keeps the display engaging. Make certain that your centerpiece looks appealing from multiple angles and does not obstruct access to the food. Limit the number of decorative pieces to four or fewer to allow each element room to breathe. A minimalist approach helps keep the table organized, functional, and visually appealing, supporting both presentation and service without feeling cluttered. For a cohesive look in a multipurpose room, consider how the furniture scale compares to options like a TV stand to ensure your buffet does not overwhelm the space. To further enhance the arrangement, consider placing a pull-out sofa nearby for additional seating if your buffet setup is in a living area. A swivel accent chair placed nearby can also add flexible seating and visual interest, allowing guests to turn toward conversation or the buffet with ease.
Label Every Dish With Must-Know Dietary Info
Clear dish cards are essential at fast-moving buffets. They should list each item’s name along with key dietary flags—such as contains nuts, dairy-free, gluten-free, vegan, vegetarian, or shellfish—right on the card. Major allergens like milk, egg, fish, crustacean shellfish, tree nuts, peanuts, wheat, and soy must be prioritized. Place these allergen labels directly under the dish name for quick recognition. Labels must accurately reflect the recipe, as sauces and garnishes can change a dish’s allergen or dietary status. Keep wording short, standardized, and large with high contrast for visibility in dim lighting. Allergen labels should separate confirmed ingredients from “may contain” cross-contact notes. Update labels whenever toppings change or pans are refilled. When tagging dishes as vegan or gluten-free, ensure the entire preparation supports those claims—shared fryers or utensils can break that trust. If serving calories and serving sizes, include them simply so guests can quickly scan without squinting. Using a main factual point about kilojoules helps guests gauge energy content.